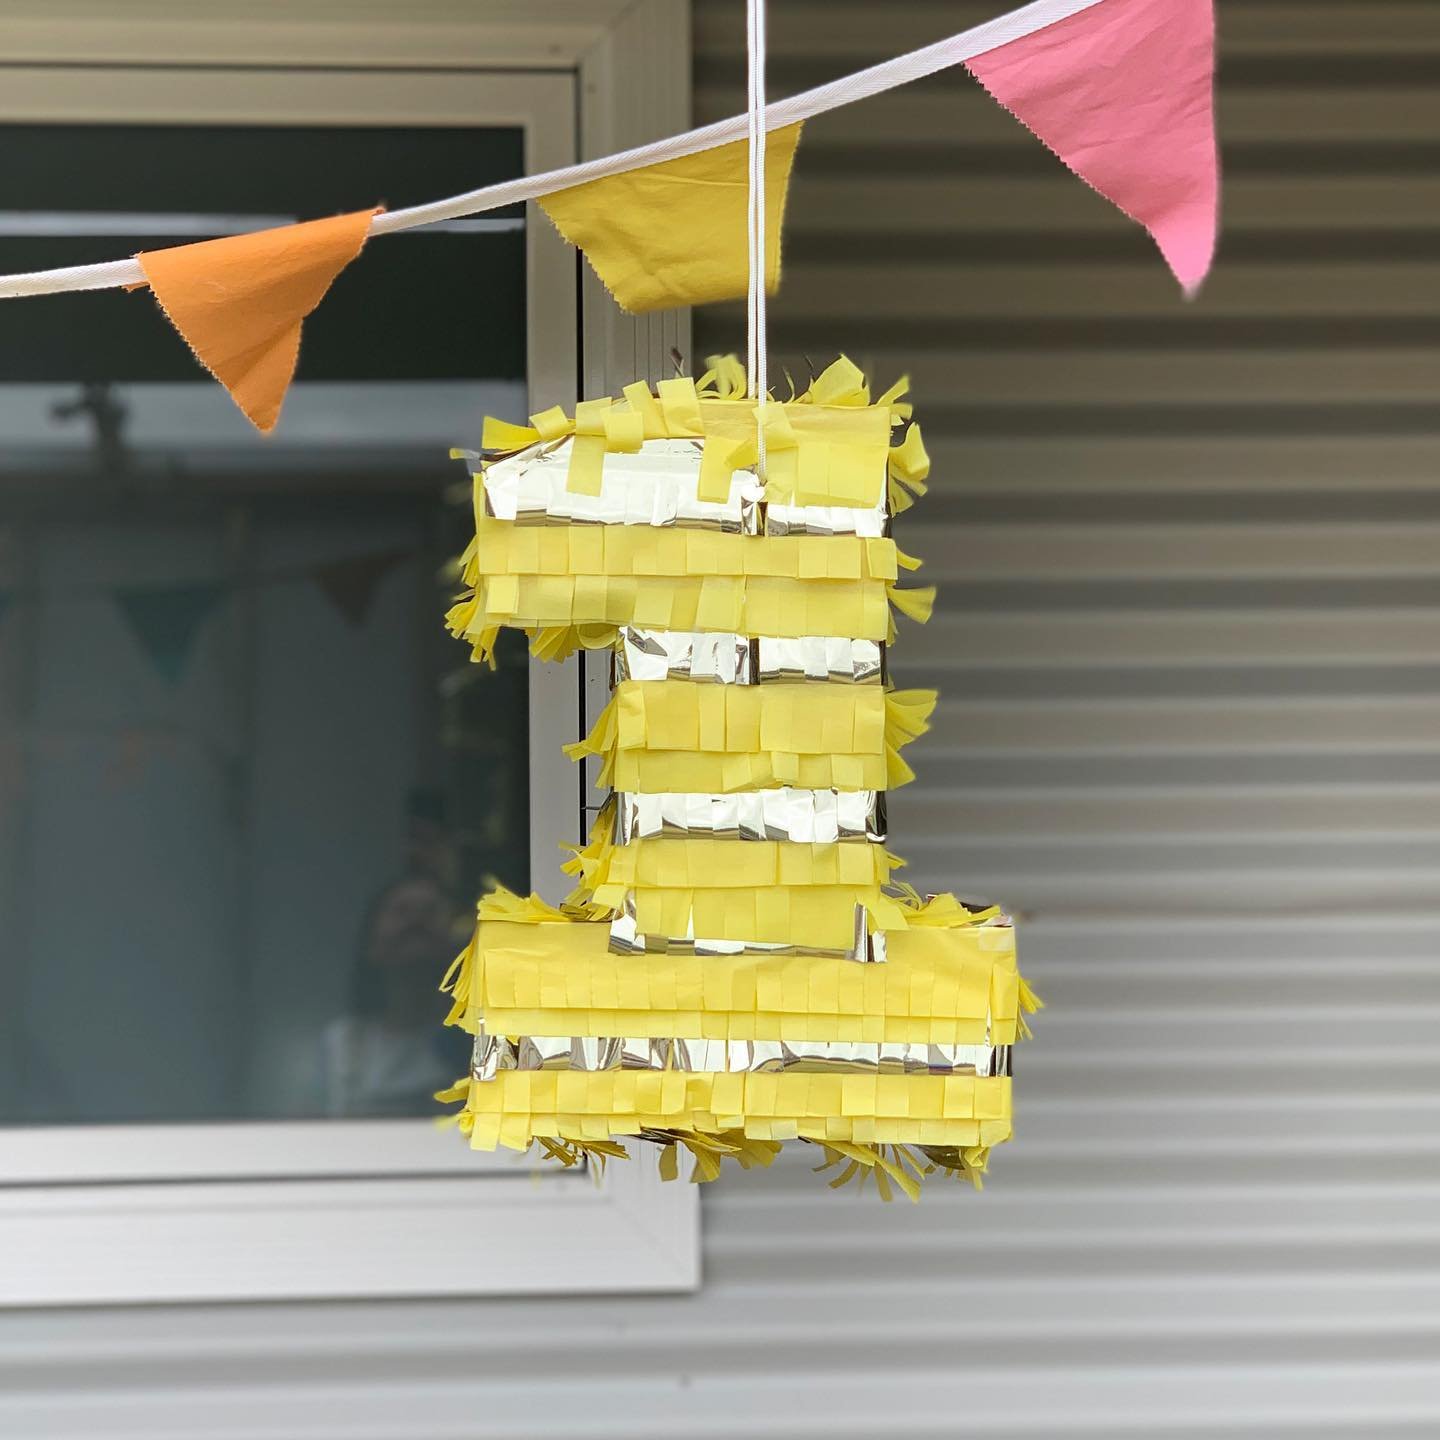
Cereal Box Piñata
I’ve made it tradition to construct a piñata for each of my eldest daughter’s birthdays & recently, it was time to make one for my youngest!
Typically I just use spare pieces of cardboard but if you’re looking to make a small piñata, a cereal box is perfect!
This is a little more technical than my typical projects so be sure to check the photos/vids in the highlight to help you! Any questions, don’t hesitate to ask!
You will need:
⋒ Large cereal box
⋒ Grey lead pencil
⋒ Scissors
⋒ Masking tape
⋒ Sticky tape
⋒ Gluestick
⋒ Tissue paper/ metallic foil paper
⋒ Rope
To construct the piñata:
1. Draw & cut out a number 1 template from a spare piece of card.
2. Snip your cereal box along the edges & bottom so you can lay it down flat - blank side up.
3. Using your template, trace your number 1 shape onto each side of your box, flipping the template so one of the numbers appears backwards.
4. Cut out your numbers, keeping them joined & keeping all box flaps attached.
5. Assemble your piñata by re-folding the ‘box’ (now a number 1) & securing it with masking tape.
6. Using the spare pieces of your cereal box, cover all openings, leaving one spot open to fill your piñata.
To decorate:
7. Keeping your tissue paper folded, cut it into strips approximately 2 inches wide.
8. Fray your tissue paper by snipping along one edge, approximately 1cm apart.
9. Unfold your strips & prepare to decorate!
10. Starting at the bottom of the piñata working your way up, apply glue & wrap your tissue paper strips around, securing the ends with tape.
(try not to use too much tape as it makes the piñata difficult to break)
11. Once covered, fill your piñata with anything you like! We went with biodegradable confetti from @bioconfetti & lollies!
12. Punch a hole at the top either side of the piñata and thread your rope through ready for hanging.
13. Attach one final piece of cardboard to seal your piñata, covering that also with your tissue paper strips.
You’re done!
Courtney


